
How to Hide Pond Liner Edges
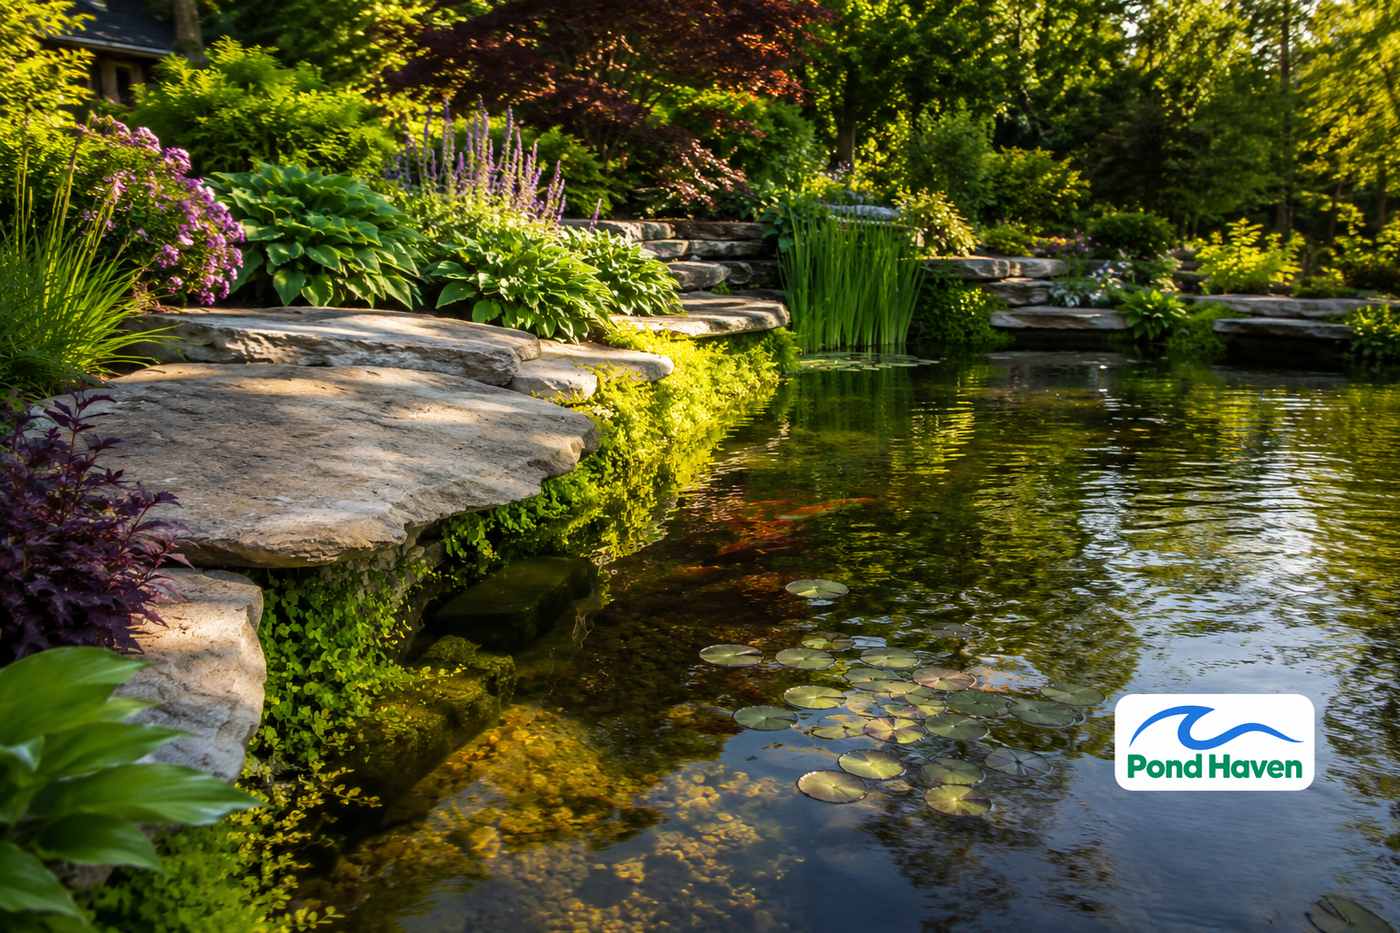

A visible black rubber or PVC liner edge is the fastest way to ruin an otherwise natural-looking pond. That stark line where the liner meets the air screams "man-made" and breaks the illusion of a self-sustaining water feature.
But hiding the liner isn't just about looks. Exposed liner edges degrade faster, heat your water, and invite damage from animals. This guide covers the full range of solutions: rockwork, plants, construction techniques, and the mistakes that undo all your work.
- Fix your water level first: the liner edge should sit below the waterline, not above it.
- Build a submerged shelf 6-12 inches wide and 4-6 inches below the waterline during construction for a stable rock base.
- Use the three-step rock method: base layer, cap layer, then backfill with soil or gravel.
- Trailing plants like Creeping Jenny and Brooklime cover edges naturally while shading the liner from UV.
- Never place soil directly on liner; use geotextile underlayment or gravel as a barrier.
Why You Must Hide the Liner (Beyond Looks)
An exposed liner edge is a functional problem with real consequences, not just an eyesore.
UV protection. EPDM and PVC liners degrade under direct sunlight. Firestone, a leading EPDM liner manufacturer, backs their 45-mil EPDM liner with a 20-year warranty when properly covered. Unprotected UV exposure accelerates embrittlement and cracking. A liner hidden under rocks, plants, or soil can last decades longer than one left exposed.
Temperature control. A dark liner absorbs heat from the sun and transfers it directly to your pond water. In summer, this can push water temperatures past the mid-70s°F range where many fish species start to stress. Koi and goldfish thrive in cooler water and can become stressed when temperatures climb too high. Shaded liner stays cooler.
Wildlife habitat. Covered edges create natural transition zones. Frogs, beneficial insects, and microorganisms thrive where the pond meets the garden. A bare liner edge offers nothing but a slippery, unnatural barrier.
Evaporation reduction. Shaded liner stays cooler, which means less water loss to evaporation. In a hot US summer, that can mean topping up your pond noticeably less often.
Animal damage prevention. Raccoons, dogs, and rodents see exposed liner edges as something to chew, claw, or pull. A liner tucked under rocks and backfill is far less tempting and much harder to access.
The Fundamental Principle: Water Level and the Shelf
Before you place a single rock or plant, check your water level. This is the most common design flaw in backyard ponds, and it's the root cause of most exposed liner problems.
The liner edge should sit below the waterline, not above it. If you can see the liner edge above the water surface, the water level is too low. The fix is simple: top up the pond so the water covers the liner up to the shelf or edge.
Why does this matter? Water itself is the best UV shield. A submerged liner edge is protected from sunlight, stays cool, and is naturally hidden from view. No amount of rockwork or planting can fully compensate for a chronically low water level.
The submerged shelf concept. If you're building a new pond or renovating an existing one, dig a shelf into the pond wall during construction. This shelf should be:
- 6-12 inches wide — enough to hold rocks or plant pots
- 4-6 inches below the waterline — deep enough to keep the liner submerged
- Level all the way around — so rocks sit flat and water covers the edge evenly
The shelf gives you a stable base for rocks and plants while keeping the liner permanently submerged and hidden. It's the single best investment you can make in a natural-looking pond.

Method 1: Hiding Edges with Rocks and Stonework
Rocks are the classic solution, and for good reason. They're durable, natural-looking, and provide permanent UV protection. But the technique matters more than the material.
The Three-Step Rock Method
This construction sequence separates a natural-looking pond from a rock pile. Each layer has a specific job.
Step 1: The base layer. Place larger rocks directly on the submerged shelf. These rocks hold the liner down against the shelf and create the foundation. Choose rocks heavy enough to stay put, roughly 6-12 inches across depending on your pond size.
Step 2: The cap layer. Use flat cap rocks that overhang the water edge slightly. Flagstone, bluestone, or fieldstone work well. The overhang creates a shadow line that hides the liner from anyone standing at the pond's edge. This is the layer people actually see.
Step 3: The backfill. Tuck and fold the liner up behind the cap rocks, then backfill with soil or gravel. The backfill holds the liner in place and locks the rocks together. Without this step, rocks can shift and expose the liner over time.
Choosing the Right Rocks
Rock selection makes or breaks the natural look.
- Flat cap rocks (flagstone, bluestone, fieldstone) work best for the top edge. Their flat profile creates a stable, natural-looking rim.
- Vary the sizes. Uniform rocks look artificial, like a retaining wall. Mix large and small stones for a natural scatter.
- Use gravel infill between rocks to fill gaps and prevent soil erosion. Pea gravel or river stone in the 1/2 to 1-inch range works well.
Tucking and Backfilling Technique
The tuck is where most DIY ponds go wrong. Here's the correct sequence:
- Leave 12-18 inches of excess liner when building the pond. This is your tuck allowance.
- Fold the liner up behind the rock shelf, not over it. The liner should run up the pond wall, across the shelf, and then turn upward behind the cap rocks.
- Backfill with soil or gravel to hold the liner in that upward fold. The weight of the rocks plus the backfill keeps the liner secure.
- Tamp the backfill to remove air pockets that could allow the liner to shift.
The result is a liner held in place by gravity, not by staples or glue that can fail over time.
Alternative: Rock-on-a-Roll and Similar Products
Pre-formed rock edging products, like Rock-on-a-Roll, offer a faster alternative. These are flexible mats with attached artificial rocks that roll out over the liner edge.
When to use them: Quick fixes, areas where natural stone is impractical, or sections of pond that are hard to reach. They're also useful for renters or temporary setups.
The trade-off: Less natural-looking than real stone. The rocks are uniform and the texture is obviously manufactured up close. But installation takes minutes instead of hours, and they provide solid UV protection.
Advantages
- Fast installation, no heavy lifting
- Consistent coverage with no gaps
- Lightweight and easy to reposition
Disadvantages
- Looks manufactured up close
- Can't match the variation of real stone
- May fade or degrade faster than natural rock
Method 2: Hiding Edges with Plants
Plants soften the transition between water and land in a way rocks alone can't match. They also provide living UV protection that grows denser each season.
Best Creeping Marginal Plants for Trailing Over Edges
These plants are the workhorses of liner hiding. They grow low, spread across the water surface, and drape over edges naturally.
| Plant | Growth Habit | Best For |
|---|---|---|
| Creeping Jenny (Lysimachia nummularia) | Fast-spreading, bright green, trails over edges | Quick coverage, softening hard edges |
| Brooklime (Veronica beccabunga) | Low-growing, succulent-like leaves, thrives in wet conditions | Shallow shelves, pond margins |
| Water Forget-me-not (Myosotis scorpioides) | Delicate blue flowers, softens edges naturally | Adding color while covering liner |
| Marsh Marigold (Caltha palustris) | Early spring blooms, good for shallow areas | Seasonal interest, early coverage |
How Plants Help Hide Liner
Plants do more than just cover the liner visually.
Trailing growth. Creeping stems drape over the liner edge, covering it with living material. Creeping Jenny spreads vigorously, adding substantial growth per season in moist conditions.
Root shading. Dense root systems shade the liner from UV rays even where leaves don't reach. This is especially valuable on the vertical faces of the liner that rocks can't cover.
Soil stabilization. Roots hold soil and gravel in place on the shelf, preventing erosion that would expose the liner over time.
Planting Techniques
How you plant matters as much as what you plant.
Plant in pots on shelves. This keeps aggressive spreaders contained while still allowing them to cover the edge. A 1-gallon pot sunk into the shelf holds Creeping Jenny in check while its stems trail over the liner.
Tuck between rocks. Place plants in the gaps between cap rocks for a natural, integrated look. The rocks hold the plant in place while the plant softens the rockwork.
Use pond baskets. Perforated baskets allow water flow while containing roots. They're ideal for marginal plants that need wet feet but shouldn't take over the entire pond.
Pondside Perennials for the Outer Transition
The area just beyond the pond edge needs attention too. These plants bridge the gap between water and garden.
- Hostas: Broad leaves that shade the liner edge from above. Choose varieties sized to your pond; a giant hosta overwhelms a small water feature.
- Ferns: Soft texture that blends the pond into the garden. They thrive in the moist soil at the pond's edge.
- Daylilies (Hemerocallis): Tough, low-maintenance, and excellent for erosion control on the bank above the liner.

Creative and Combined Approaches
The strongest results come from layering methods. Here are additional approaches that work well on their own or combined with rockwork and plants.
Gravel Beaches
Create a shallow gravel beach where the liner transitions gradually from water to land. Spread pea gravel or river stone over the liner edge, sloping from the waterline up to the surrounding soil.
This approach works especially well for wildlife-friendly ponds and natural swimming ponds. The gravel provides habitat for aquatic insects and creates a gentle entry point for animals.
Overhanging Decking or Stepping Stones
Extend a wooden deck or large flat stones over the pond edge. The overhang completely hides the liner from view while adding functional seating or walking space.
This is the most dramatic solution and works best for modern or formal pond designs. It also provides a solid base for pond maintenance access.
Moss and Turf
In shaded areas, moss grows well on damp liner edges. It creates a soft, green transition that looks like it's been there for years.
For sunny locations, sod or turf can be laid over the backfilled liner edge. This creates a seamless transition from lawn to pond, though it requires regular mowing and edge maintenance.
Common Mistakes to Avoid
Even experienced pond owners make these errors. Avoid them and your liner will stay hidden for years.
- Using uniform rocks. Same-size rocks look artificial. Vary sizes and shapes for a natural scatter.
- Placing soil directly on liner. Soil breaks down liner over time through chemical and biological action. Liner manufacturers recommend a geotextile underlayment between soil and liner. Use geotextile underlayment or a layer of gravel between soil and liner.
- Using aggressive plants. Bamboo, mint, and some rushes will take over the entire pond. Stick to contained or slow-spreading species like those listed above.
- Insufficient water coverage. If the water level drops below the liner edge, the liner becomes exposed and vulnerable. Check water levels weekly during hot, dry spells.
- Covering pump intakes. When placing rocks or gravel, keep pump intakes and skimmers clear. A blocked intake starves your pump and can burn it out.
- Forgetting about maintenance access. Leave some liner edge accessible for future repairs or pump maintenance. A fully sealed pond is a nightmare to service.
- Water level covers the liner edge completely
- Submerged shelf is level and 6-12 inches wide
- Base rocks hold liner down on the shelf
- Cap rocks overhang the water edge
- Liner is folded up behind rocks, not over them
- Backfill is tamped to remove air pockets
- Geotextile or gravel separates soil from liner
- Plants are contained in pots or baskets
- Pump intakes and skimmers are clear
- Some liner edge remains accessible for maintenance

Frequently Asked Questions
How much liner should I leave exposed for tucking?
Leave 12-18 inches of excess liner beyond the water's edge. This gives you enough material to fold up behind the rock shelf and secure with backfill. Cutting the liner flush with the pond edge is the most common installation mistake.
Can I use regular garden soil to backfill over the liner?
Not directly. Soil in contact with liner breaks it down over time. Use a geotextile underlayment between soil and liner, or backfill with gravel instead. If you want plants in that area, use a planting pocket lined with geotextile fabric.
What's the best plant for quickly covering a pond liner edge?
Creeping Jenny (Lysimachia nummularia) is the fastest reliable option. It spreads 18-24 inches per season in moist conditions and trails beautifully over liner edges. Plant it in a pot on the shelf to keep it from taking over the entire pond.
How do I hide the liner on an existing pond without rebuilding?
Start by topping up the water level so it covers the liner edge. Then place flat cap rocks along the edge, tucking the liner up behind them and backfilling with gravel. Add trailing plants in pots on any existing shelves. This works without draining the pond.
Will rocks damage my pond liner?
Only if they have sharp edges or are placed directly on the liner without protection. Use smooth, rounded rocks on the shelf and add a geotextile underlayment beneath the liner in high-wear areas. Heavy rocks should sit on the shelf, not on the unsupported liner.
The Bottom Line
The best results come from combining methods. Start with the water level and shelf, then layer rockwork and trailing plants on top. Each element reinforces the others: rocks provide permanent structure, plants soften the transition, and the water level keeps everything submerged and protected.
Take your time with the construction sequence. A well-hidden liner lasts longer, looks better, and creates a pond that feels like it was always there, not like it was built with a liner at all.
Get the foundation right, and hiding the edges becomes a straightforward finishing step rather than a constant battle.