
Pond Aerator Installation
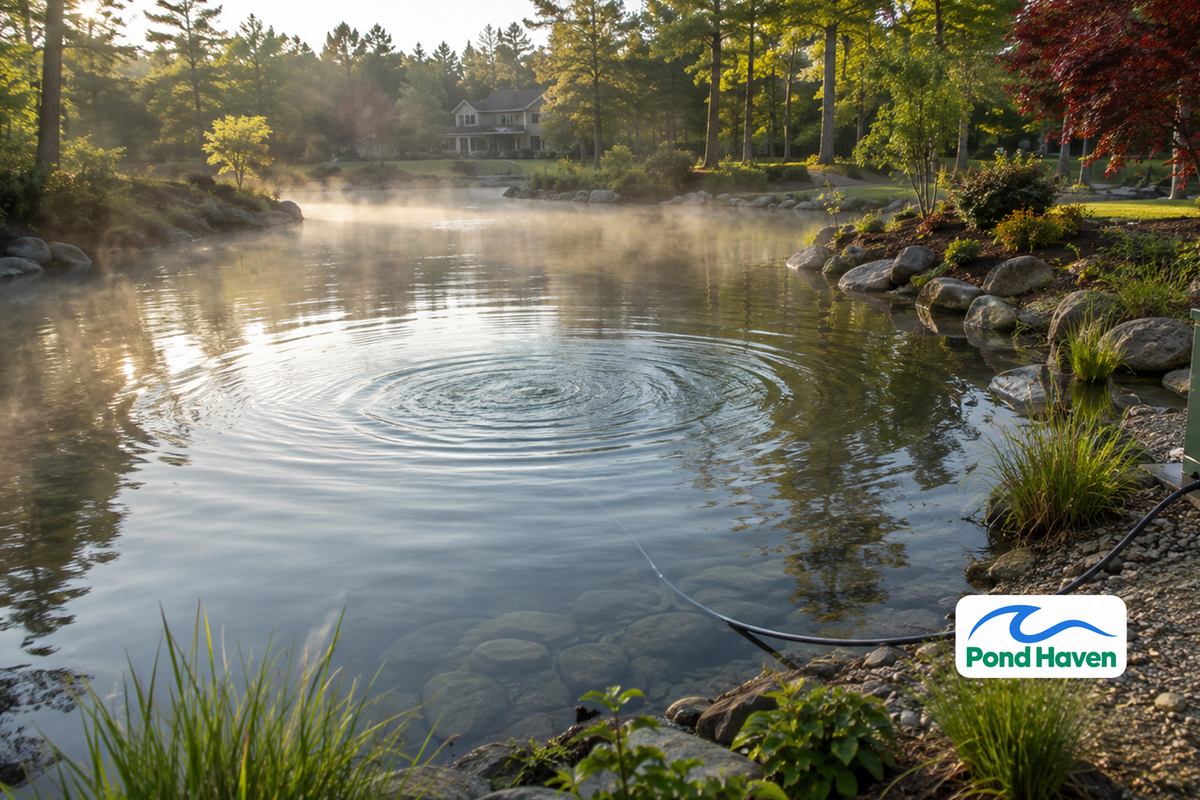

A pond aerator is the single best investment you can make for water quality. It keeps dissolved oxygen in the 5-8 mg/L range fish need to thrive, speeds up muck breakdown by feeding aerobic bacteria, and prevents the toxic gas buildup that kills fish in summer and winter.
There are two main system types. Surface aerators (fountains, paddlewheels) pull water from the top 1-3 feet and throw it into the air. Bottom-diffused systems use a shore-based compressor to push air through weighted tubing to diffuser plates sitting on the pond floor.
This guide covers the full pond aerator installation process: choosing the right system, sizing it, assembly, deployment, and the critical start-up protocol that protects your fish. We focus on bottom-diffused systems because they're the right choice for most residential ponds. Surface units get briefer treatment.
- Choose diffused aeration for ponds deeper than 6 feet, or 5 feet if you keep fish. Surface aerators work best under 5 feet.
- Size your system at 0.5-1.0 CFM per acre of surface area, and verify the compressor delivers that airflow at your pond's total backpressure, not just at zero pressure.
- Every electrical connection must be GFCI-protected. Diffused systems keep all electrical components on shore, which is a major safety advantage.
- Never fire a new system at full power. Use the 7-day slow-start schedule to avoid sudden turnover and fish kills.
- Plan for maintenance: clean the intake filter every 6 months, clean diffusers annually, and budget for a compressor rebuild every 2-5 years.
Step 1: Choose Your Aerator Type
Bottom-Diffused vs. Surface Aerators: Which Do You Need?
Depth is the deciding factor. Here's the rule of thumb:
- Ponds under 5 feet deep: Surface aerators or fountains are the better call. Diffused aeration is inefficient in shallow water.
- Ponds 5-6 feet deep: Diffused aeration is recommended if you keep fish. A surface aerator works for a fishless ornamental pond at 6 feet.
- Ponds deeper than 6 feet: Diffused aeration is the only effective choice. No surface aerator can oxygenate the bottom water at these depths.
Surface aerators only affect the top 2-4 feet of the water column. In ponds deeper than 8 feet, they leave anoxic "dead zones" at the bottom where hydrogen sulfide and ammonia accumulate.
Diffused systems solve this. Rising bubbles create a "chimney effect" that pulls oxygen-poor bottom water to the surface, circulating the entire water column. One subsurface system can control up to 6 diffusers and cover more area than six 1-horsepower aerating fountains.
Sizing Your System
Most residential ponds need 0.5-1.0 CFM (cubic feet per minute) of airflow per acre of surface area. Some sources recommend 1-1.5 CFM per acre; err on the higher end if you have a heavy fish load.
A 1/4-acre pond needs roughly 0.25-0.5 CFM. A 1-acre pond needs 1.0-1.5 CFM.
Pond shape matters as much as size. A circular 1/2-acre pond may work with a single diffuser. A kidney-shaped pond typically needs at least 3 diffusers to eliminate dead zones. Cove-heavy ponds may need 4 or more.
For ponds deeper than 6 feet, bump up to the next larger compressor size. Deeper water means more backpressure, which reduces airflow.
Diffused Aeration
- Oxygenates the full water column, including bottom water
- All electrical components stay on shore
- More energy-efficient than surface units at depth
- Quieter operation, no visible surface disturbance
Surface Aeration
- Only affects the top 2-4 feet of water
- Submerged power cables risk damage from ice and anchors
- Higher energy draw for equivalent coverage
- Ineffective in ponds deeper than 6-8 feet
Step 2: Gather Tools & Materials
Component Checklist
Here's what you need for a bottom-diffused system:
- Air compressor (sized per Step 1, with cabinet or enclosure)
- Weighted airline tubing (3/8" ID for runs under 50 feet, 1/2" ID for 50-100 feet, 3/4" ID for longer runs)
- Manifold with balancing valves (one valve per diffuser line)
- Diffusers (membrane disc or tube style, with weighted base)
- "Y" connectors (never "T" connectors)
- Stainless steel hose clamps
- 5/8" connector kits for joining airline sections
- Check valves (prevent water backflow when the compressor is off)
- PVC conduit and outdoor-rated wire (UF-B or THWN)
- GFCI breaker or outlet
Tool List
- Shovel or trencher
- Adjustable wrench
- Screwdrivers (flat and Phillips)
- Utility knife
- Tape measure
- Level
- Cordless drill
- Fish tape (for pulling wire through conduit)
- Nylon rope (for diffuser deployment)
- Optional: 0-10 PSI pressure gauge with T-fitting

Step 3: Plan Your Layout & Prepare the Site
Choose the Compressor Location
Place the compressor cabinet on level ground in a shaded, well-ventilated area. Heat is the primary enemy of air pumps. Direct sun and enclosed "fake rock" covers trap heat and can damage diaphragms.
Keep the cabinet away from outdoor living areas if noise is a concern. Most residential units run at 50 dB or less, but you'll hear it.
Distance from the pond matters. Shorter airline runs mean less backpressure and smaller tubing requirements. It's often more cost-effective to run hundreds of feet of airline than to pay an electrician to run power to the pond.
Trenching for the Airline
If the distance from the cabinet to the shore is more than 5 feet, bury the airline. Dig a trench 6-12 inches deep to protect the line from mowing and foot traffic.
Mark the route before you dig. Keep the line as level as possible and avoid low spots where condensation can collect. You'll need a separate airline run for each diffuser.
Backfill the trench in a few spots temporarily to hold the airline in place until installation is complete.
Call Before You Dig
In the US, call 811 before any digging project. This is mandatory. Utility locators will mark gas, electric, water, sewer, and communication lines. Allow 2-3 business days for marking. The 811 service is free and required by law in all 50 states.
Step 4: Ensure Electrical Safety
GFCI Protection Is Non-Negotiable
All outdoor electrical connections for pond equipment must be GFCI-protected. This is a requirement of the National Electrical Code (NEC), not a suggestion.
The NEC 2023 edition, Section 210.8, requires a listed Class A GFCI for personnel protection on all outdoor outlets of dwellings. This now covers hard-wired equipment, not just receptacles. If you're hard-wiring your compressor, it must be on a GFCI breaker, not just a GFCI outlet.
GFCI protection is a proven, critical safety technology that has dramatically reduced the risk of electrocution. That's the standard you're meeting.
Wiring Standards
- Burial depth: 18 inches minimum for PVC conduit, 24 inches for direct burial
- Wire type: UF-B (Underground Feeder) or THWN in conduit
- Leave slack: Allow service loops at both ends for future maintenance
- Ventilation: Compressor cabinets need airflow. Never fully enclose the unit.
The Shoreline Advantage
This is a key safety reason to choose diffused aeration. All electrical components stay on shore. Only air moves through the water. Surface aerators and fountains require submerged power cables, which are susceptible to damage from anchors, wildlife, and ice.
Step 5: Assemble the System
Calculate Backpressure Before You Connect Anything
Backpressure is the force your compressor must overcome to push air to the diffuser. It has three components:
Total System Pressure = Water Depth Pressure + Diffuser Backpressure + Tubing Friction Loss
Here's the math:
- Water depth: Every 2.31 feet of depth = 1 PSI. A diffuser at 8 feet creates 3.46 PSI (8 ÷ 2.31).
- Diffuser backpressure: Medium-bubble diffusers add about 0.25 PSI. Fine-bubble stone diffusers can add up to 1.5 PSI.
- Friction loss: Tubing friction increases with length and smaller diameter. For typical setups, 1/2" tubing has relatively low friction loss, while 3/8" tubing loses significantly more pressure.
Worked example: An 8-foot deep pond with a medium-bubble diffuser and 100 feet of 1/2" tubing:
- Water depth: 3.46 PSI
- Diffuser: 0.25 PSI
- Friction: 0.14 PSI
- Total: 3.85 PSI
Now check your compressor's spec sheet. It must deliver its rated CFM at 3.85 PSI, not at zero pressure. A compressor rated at 4 CFM at 0 PSI may deliver only 2 CFM at 10 feet of depth. This inverse relationship between pressure and airflow is the most common sizing mistake.
Choose the Right Tubing
| Run Distance | Tubing Size |
|---|---|
| Under 50 feet | 3/8" ID |
| 50-100 feet | 1/2" ID |
| 100-250 feet | 3/4" ID |
| Over 250 feet | Consider relocating the compressor closer |
Assemble the Manifold
Use "Y" connections, never "T" connections. Tees create uneven airflow distribution and increase backpressure.
Install one balancing valve per diffuser line at the manifold. Assembly order: compressor → manifold → individual lines to each diffuser.
Balancing matters because a diffuser in deeper water always requires more airflow than one in shallower water. The valves let you equalize output. Start with all valves partially open, observe bubble output at each diffuser, and adjust gradually.
Attach the Diffusers
Connect the weighted airline to the diffuser barb and secure with stainless steel hose clamps. Thread diffuser sticks onto the base and add a 5/8" barbed adapter into the check valve. Hand-tighten all fittings; do not overtighten.
Test each diffuser on land before deployment. Run air through to check for leaks. Label each line so you know which valve feeds which diffuser.

Step 6: Deploy the Diffuser(s)
Find the Deepest Point
Use a depth finder or a weighted rope to locate the deepest area of the pond. This is where the diffuser goes. Oxygen-poor water settles at the bottom, and that's where you need circulation. The deeper the diffuser, the more pond area it covers.
For large ponds, space multiple diffusers evenly across the deepest zones.
Deployment From a Boat
Anchor the boat over the target depth. Lower the diffuser slowly, letting the weighted line sink straight down. Feed line out smoothly; never drop the diffuser in a pile. The diffuser should sit flat on the bottom, not on its side.
Leave slack at the shore end so water level changes don't pull the diffuser out of position.
Deployment From Shore
For smaller ponds, have one person guide the airline while another walks around the pond with the diffuser. Thread nylon rope through the diffuser manifold handle and use it to gently guide the diffuser into place. Once set, release one side of the rope and pull it to shore.
For ponds too deep to wade, use a pole or paddleboard to position the diffuser.
Step 7: The Critical First Start-Up
Why a Slow Start Is Mandatory
This is the step that saves fish lives. Established ponds have stratified layers. The bottom water is often oxygen-depleted and loaded with hydrogen sulfide and ammonia. Firing the system at full power mixes this toxic water into the entire pond instantly.
The result is "sudden turnover," and it can kill fish within hours, even in a pond that looked perfectly healthy.
The 7-Day Slow-Start Schedule
| Day | Run Time | Notes |
|---|---|---|
| Day 1 | 30 minutes | Morning only, when fish are most active |
| Day 2 | 1 hour | Split into two 30-minute sessions if possible |
| Day 3 | 2 hours | Monitor fish behavior closely |
| Day 4 | 4 hours | Watch for fish gasping at the surface |
| Day 5 | 8 hours | Check water clarity for signs of turnover |
| Day 6 | 16 hours | Nearly full-time operation |
| Day 7+ | 24/7 | Full operation; re-balance valves |
An alternative method: run the system for 1 hour on day one, then double the duration each day until you reach 24-hour operation. For heavily stratified ponds, extend the schedule to 10-14 days.
Seasonal start-up should wait until water temperature reaches 55°F. Starting too early in cold water reduces oxygen transfer efficiency and stresses fish during their lowest metabolic period.
What to Watch For
- Fish gasping at the surface: Sign of stress. Reduce run time and extend the schedule.
- Cloudy water: Normal during initial mixing. Should clear within days.
- Sulfur smell: Indicates hydrogen sulfide release. Keep run times short until it dissipates. Strong odors on day one are normal.
Step 8: Troubleshoot Common Problems
Low Airflow at the Diffuser
- Check for kinks in the airline from compressor to diffuser
- Check the intake filter; a clogged filter starves the compressor
- Check that all balancing valves are fully open
- Check for leaks; listen for hissing along the line
Air Leaks
Common spots are hose clamps, manifold fittings, and diffuser connections. Mix dish soap with water and apply it to suspect joints. Bubbles indicate leaks. Re-tighten stainless clamps or replace thread tape on PVC fittings.
Compressor Overheating
- Check cabinet ventilation; clear any blockages
- Check the intake filter; a dirty filter makes the unit work harder
- Check for direct sun exposure; relocate or shade the cabinet
- Watch for red ants; they're attracted to pump diaphragms and can destroy them
No Air at All
- Confirm the GFCI hasn't tripped
- Does the compressor run? Listen for unusual sounds
- Check the check valve at the manifold; it can stick
Use a Pressure Gauge
Install a 0-10 PSI pressure gauge with a T-fitting just outside the pump's outlet port. Log pressure and water depth every 6 months. A significant pressure drop indicates a leak or line break. A significant increase indicates a clogged diffuser or kinked line. If pressure rises more than 1 PSI beyond what water depth explains, the diffuser is clogging.

Ongoing Maintenance Schedule
Every 6 Months
- Clean or replace the intake filter. A dirty filter reduces airflow and strains the compressor.
- Check all hose clamps and re-tighten any that have loosened.
- Inspect the airline for cracks, rodent damage, or sun damage above ground.
- Re-level the compressor cabinet. Ground shifting during winter causes mechanical wear.
Annually
- Clean the diffuser membranes. Remove algae and mineral buildup with a soft brush and mild soap.
- Re-balance the valves. Flow patterns change as diffusers age; adjust quarterly for even output.
- Check the cabinet for rust, water intrusion, or pest nests.
Every 2-5 Years
- Compressor rebuild: Diaphragms and valves wear out. Most residential units need a rebuild kit at the 2-3 year mark. Installation takes about 20 minutes. Pumps can typically be rebuilt twice before replacement.
- Replace diffuser membranes: Caked-on minerals reduce airflow. Replacement membranes are inexpensive.
- Inspect the full airline: Replace any worn sections before they fail.
Frequently Asked Questions
How deep does my pond need to be for a diffused aerator?
Diffused aeration works best at 5 feet or deeper. Below 4 feet, it's inefficient and surface aerators are the better choice. For fish ponds, switch to diffused aeration at 5 feet minimum for a greater safety margin.
Can I install a pond aerator myself?
Yes. Most residential systems are DIY-friendly with basic tools. The hardest parts are trenching the airline and getting the electrical connection right. If you're not comfortable working in your main electrical panel, hire a licensed electrician for the GFCI circuit.
How long does installation take?
Plan for 4-8 hours for a typical residential installation, including trenching and electrical work. Solar-powered systems add time for concrete curing, which takes a minimum of 48 hours before mounting the panel assembly.
Do I need a permit for a pond aerator?
Most areas don't require a permit for the aerator itself, but electrical work typically does. Check with your local building department before starting. Utility locating through 811 is mandatory before any digging.
How much does it cost to run a pond aerator?
A typical 1/4 HP rocking piston compressor draws about 1.5 amps at 115V. At the national average electricity rate of about 16 cents per kWh, that works out to roughly $20 per month to run 24/7. Bottom-diffused systems are generally cheaper to operate than surface aerators or fountains.
A properly installed aerator runs quietly in the background, keeping your pond oxygenated, your fish healthy, and your muck breaking down. The installation work is a one-time effort. The payoff is a pond that looks better, smells better, and supports aquatic life all year round.
Ready to get started? Browse our selection of bottom-diffused aeration systems and compressor cabinets sized for ponds from 1/4 acre to 2 acres. Need help choosing? Our team can walk you through sizing based on your pond's depth, shape, and fish load. Measure your pond, choose the right system, follow the slow-start schedule, and stay on top of maintenance. Your pond will thank you.